December 9, 2012

Catching Up

Its been a long while since our blog has been updated. So long that I gasped when I realized that the last entry was from nearly 10 months ago. So much has happened over that time that I will only attempt an mini update and instead apologize profusely for lack of attention to this blog. I'm going to just dive right in here, so fasten your belts!

February 2012 ended and we sprung right into spring with lots of water color painting, egg dying, seed planting, and of course the annual school picnic.


We also expanded our family and welcomed baby boy number 3!
 

The end of the 2011-2012 school year was celebrated with our very first Meadowlark Preschool graduation ceremony. We were so happy to congratulate our three graduates and wished them well in their transition into Kindergarten.


Summer arrived and we enjoyed our long sunny days at school, camp style. There were trips to the Cerra Vista Park, water play under the whale and sprinklers, and special sports classes each day with our summer helper Ms. Allyson. But the biggest event of the summer was signing the lease on what would be our very own school building!

This fall we welcomed so many new families and a wonderful group of new students. As our school continues to grow, the wonderful aspects of our program components remain the same.

Creative and imaginative play.
Friendship and learning through interactions with others.
 Age appropriate curriculum, hands on learning, and respecting the natural wonder of childhood.
 
As a parent I love staying informed on the happenings in my child's life. As an educator I love sharing moments with others and looking back over things I've done. My hope is that this blog fills both of those passions not only for myself but for others that join in on the journey.

A wonderful and talented parent has offered her help in keeping this space current and filled with beautiful pictures and words. I am forever grateful for the help and excited to see this blog continue during, what undoubtedly will be, an amazing school year full of new opportunity and exciting change.

February 14, 2012

Love

The first 14 days of February were all about love. Here are some of the love and heart inspired projects we did.

Potato Print
We cut potatoes into heart shapes and then had the children stamp with red, pink, and purple tempera paint.

3-D Hanging Hearts
After the students decorated construction paper hearts with tissue paper scraps, we glued 3 of the heart together. This made a nice 3-D heart decoration.

Stained Glass
We cut a heart shape out of 2 pieces of construction paper (front and back) to make the frame. One of the frames was placed onto wax paper and liquid starch was painted inside the heart shape as well as on the edges of the heart cutout. Students overlapped pink, red, and white pieces of tissue paper to create the stained glass effect. Once the starch dried, the frame was carefully peeled off and the backing was added.

Valentine's Day Collage

Valentine's Day Bags
Each student decorated a white lunch with markers, heart shapes, and stickers.

Valentine's Day Cooking Project
For our special holiday cooking project we made heart shaped pizzas! In the morning the students helped to make the pizza dough from scratch. Once it was done rising they shaped their dough into heart shapes. Homemade pizza sauce, cheese, and mini-peperoni was added by each student.

We labeled each pizza with a slip of wax paper and popped them into the oven for 5 minutes to bake. Here is what they looked like before the students ate them. It was a very yummy lunch made with lots of love.

Our Valentines bags all filled up with love notes and sweet treats.

'V' is for Vase
We learned a lot about the letter V during Valentine's Day week, especially since it just happened to be the letter of the week. Here was our creative way to make a vase full of flowers using the letter.

January 13, 2012

January Winter Projects

Our theme for January is winter and snow. Here are some of the things we are worked on this month.

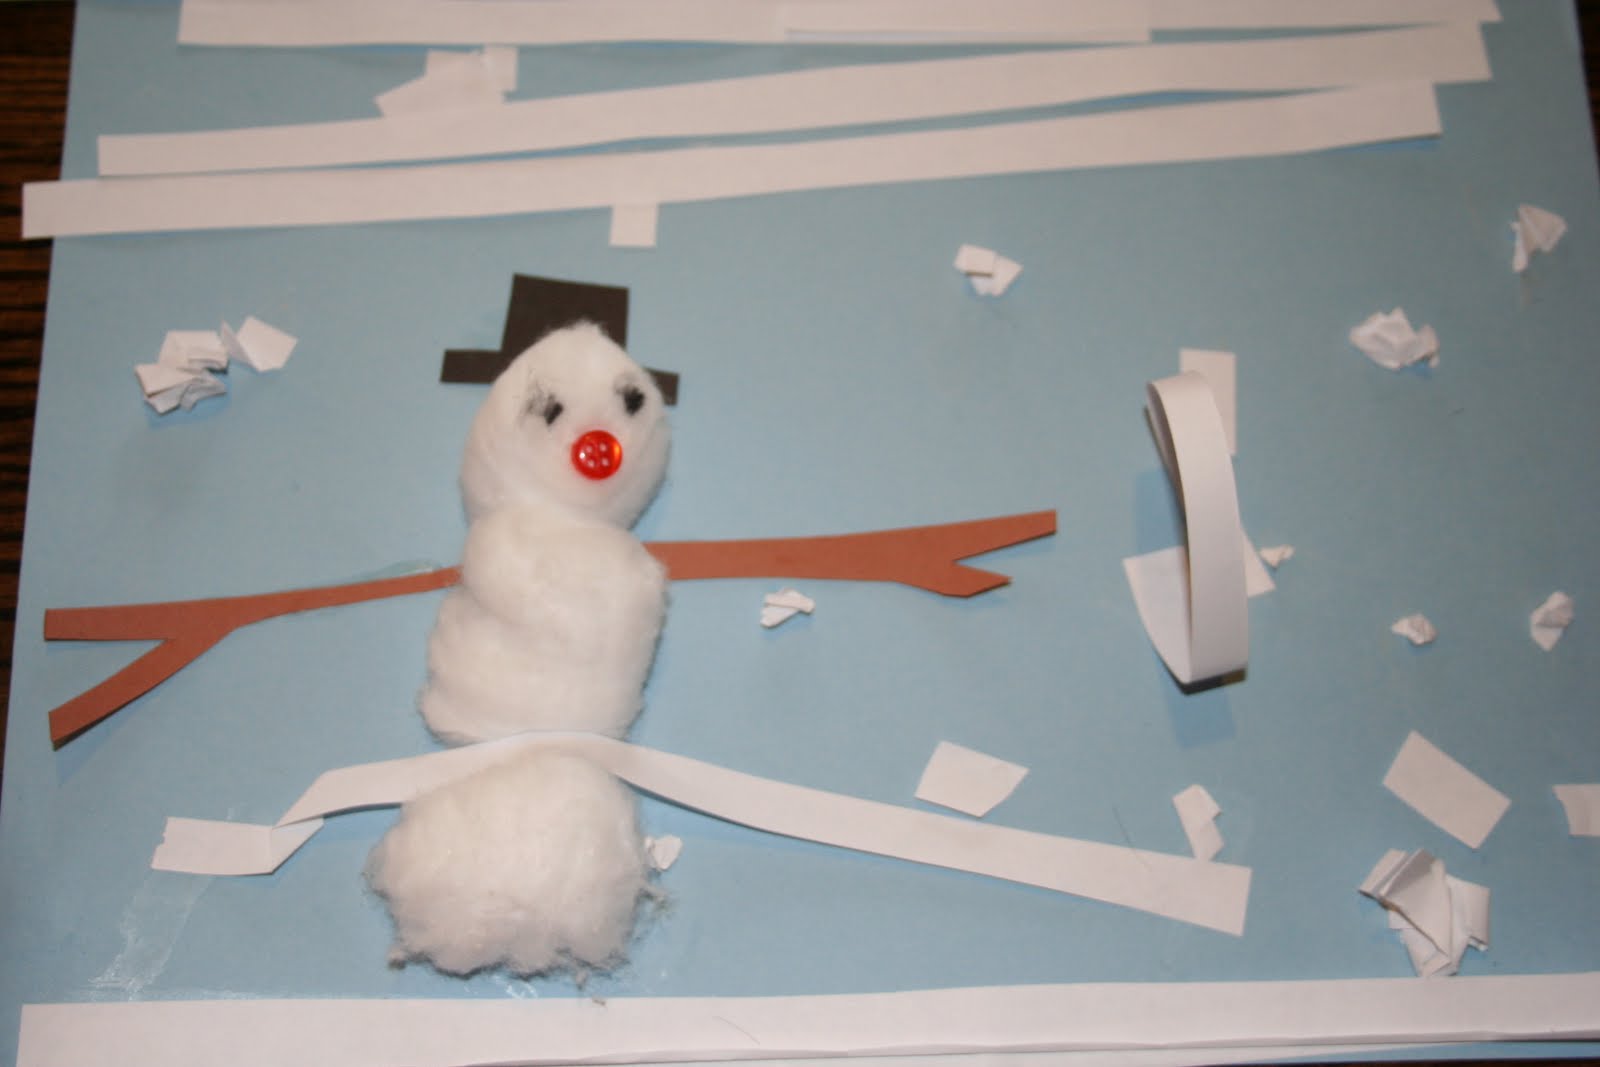
Snowman Collage
The children used cotton balls and cut up paper strips.


Bubble Wrap Prints
We used light and bright blue paint.

I cut pieces into rectangles and used packing tape to close up 2 of the ends. It made the perfect bubble wrap mitt for the children's hands. This was the large bubble wrap and I'd love to try it with the tiny bubble wrap as well.

It started getting very blue so a little purple and lavender was in order.

Look at how nice the pattern looks at the end.

Marshmallow Prints
We used large marshmallows and left over paint from bubble prints.

There was a range of creating from organized to overlapping.

Ice Painting 
We use water and food coloring in ice cube trays to make 'paint'. I add cut pieces of drinking straw so that the kids don't freeze their fingers.

Wood Stick Snow Flakes

Ice Melting
We use an ice block, water tinted with food coloring, salt, and eye droppers for this science exploration. The children learn that ice melts in different ways and can see the variations using the colored water. Teachers sprinkle salt on top of the ice block to speed some of the melting process and create channels in the middle of the cube for the water to run down. Our first group used blue water and our second group used red so we also learned about color mixing too.

Rain Clouds
We made these using construction paper, various blue tissue paper, and cotten balls.

Snow Play
Ok, so we don't live in an area where it snows. The next best thing? Shaving cream! The children painted and sculpted with our version of snow.

December 22, 2011

Gingerbread House Party

What better type of Christmas party for children than a buffet of candy and frosting made out of sugar! With the help from parents, each student was able to build their house using a standard school lunch size milk carton, graham crackers, and homemade royal icing that acts like glue. Once the structure was set in place, candy was then added for decoration.

The self-serve candy station. Families donated all sorts of candy. We used individual bowls for each child to hold their candy selection and a spoon for them to scoop the loose candy with.

First the roof and walls were placed on using icing.

Then the edges were frosted to help support the structure.

Then the candy was added!

We used sandwich sized zip lock bags filled with royal icing as piping bags. Just a tiny  little cut in the corner does the trick.

Older students learned about squeezing out their own icing.

Younger students enjoyed adding the candy pieces.

Of course what Christmas party wouldn't be complete without hot coco and snacks.

Some of the finished houses.

December 21, 2011

The Gingerbread Man

During the month of December we spend a week reading "The Gingerbread Man" story and have a few fun activities that go along with the book.

We take time to finger paint a gingerbread man cut out.


We make a really really BIG gingerbread man of our own using gingerbread cookie dough. Its hard to make one free form so a shape is traced onto parchment paper and we work on pressing the dough inside the lines.

After all the dough is pressed in we add a few decorations for his eye, nose, and buttons. Then into the oven he goes.

It took a long time for him to bake and he was starting to smell really good. So naturally we checked on him. When we opened the oven door we were shocked to see that he was gone!


After following the flour trail he left all over the school, we finally found him out back playing near the sandbox. He was 'chilling' out and having some fun.

We quickly caught him and brought him inside.

He didn't put up to much of a fight and was a really yummy snack.

Since it was so much fun catching the gingerbread man, we decided it would be nice to make a hat with him on it.

Now we can pretend to be a gingerbread man too.

December 20, 2011

Christmas Holiday Fun

Red and green marble paint.


Christmas collage wind socks.


Popcorn Santa hat.


Decorating Christmas trees.